You can set a course scoring method and/or a rule or multiple rules for your courses such as whether learners must complete all units in order, complete a specific unit, and/or complete all tests in the course. This allows you to structure the courses and set a sequence of steps for a course, or between courses. If you do not set rules for a course, this will mean that learners can take the units in any order they wish.
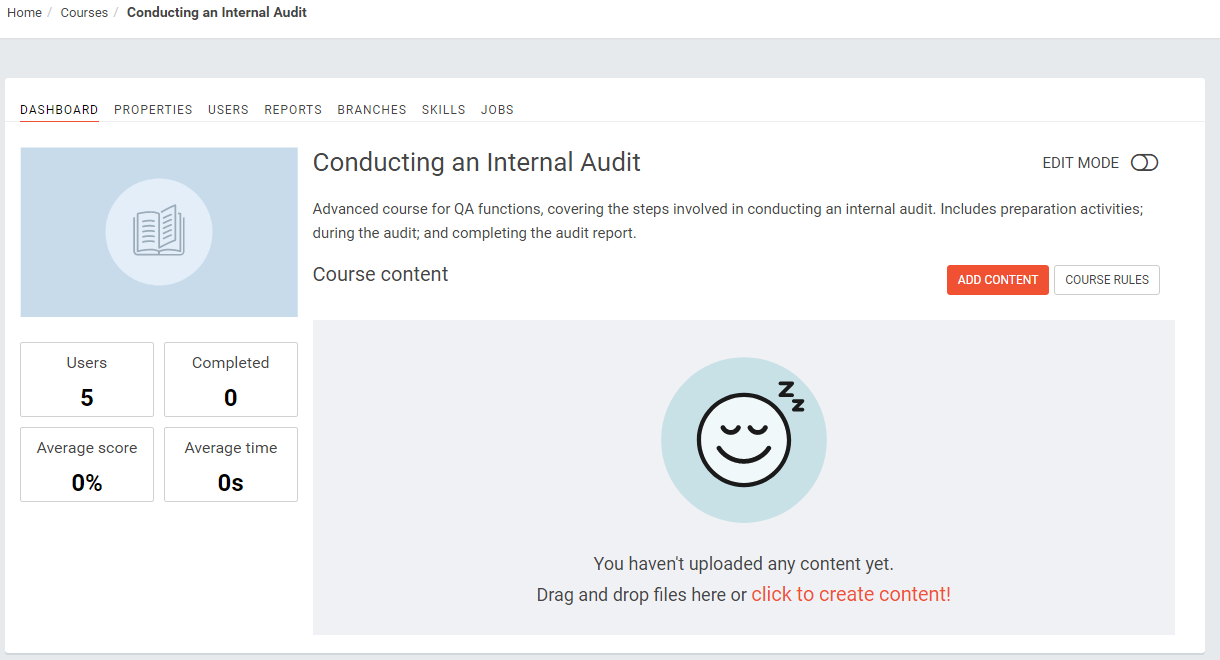
To set the rules for a course, click the [Course Rules] button on the course dashboard.
Use the ‘Set the course score equal to’ drop-down list to determine how the course will be graded. The options include:
- The average score of all completed units
- The average score of all completed tests
- The score of a specific unit
To set a rule whereby learners must complete each unit the order you set, enable the [Serial rule] button at the top of the Course rules page. When enabled, the button turns green and shows as ‘Serial rule enabled’. This means that learners must complete the previous unit before progressing to the next unit in the course.
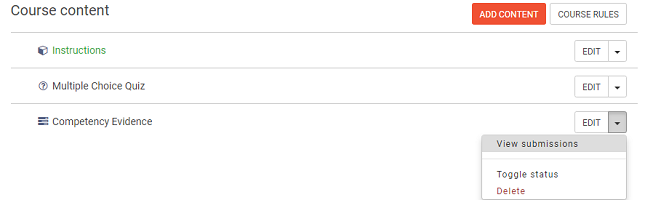
All existing course rules are displayed on the page. You can add new rules or edit / delete existing rule(s) using the icons in the operations column.
To add a completion rule to the course whereby you define the way in which a course is marked as “completed”, click the [Add Condition] button. You can add a new rule using the options available in the ‘Condition’ drop-down list:
- Completed all units (making all content units mandatory)
- Completed all tests (making all tests mandatory)
- Completed a fraction of units (making a set percentage of the units mandatory)
- Completed a specific unit (making one or more units mandatory)
- Spent an amount of time (set in minutes)
You can then define whether the conditions relate to another condition using the AND/OR options in the ‘Relation with other conditions’ drop-down list. For example:
| Completed all tests AND Completed a fraction of units (50%)
|
Learners would need to complete all tests in the course and at least 50% of the units to complete the course. |
| Completed all tests OR Completed a fraction of units (50%)
|
Learners would either need to complete all tests in the courses or at least 50% of the units to complete the course. |
Please note that by default, ALL new courses have the "Completed All Units" rule applied.
To set other rules for the course, such as prerequisites, go to the course dashboard and select the [Properties] tab. In "Advanced Settings", the ‘Depends on’ field can be used to set any prerequisites (see Adding a course).
 icon at the bottom of the page.
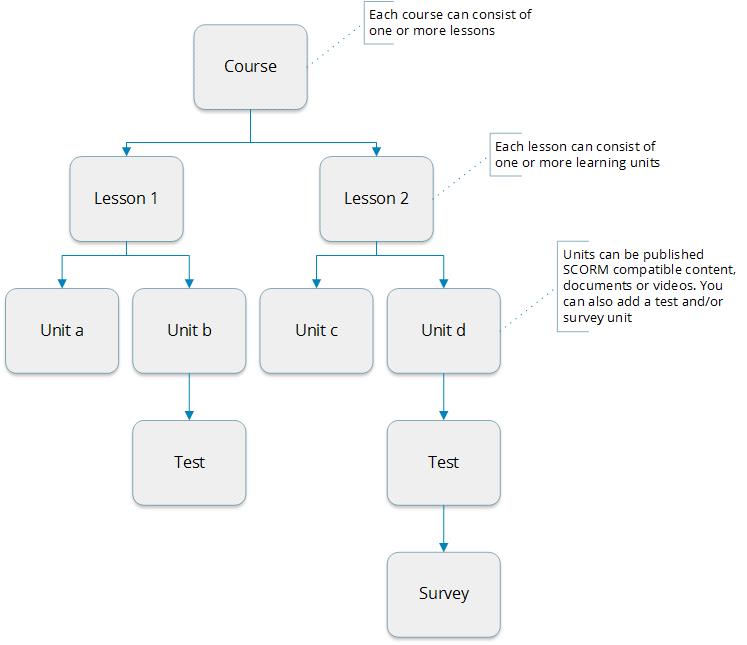
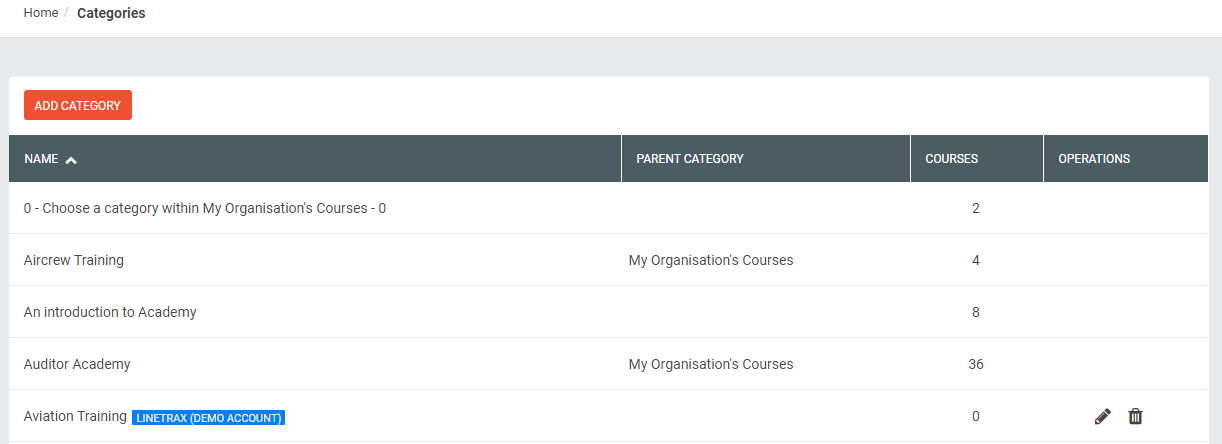
 - Deleting a category: You can only delete categories that you have created yourself AND that aren't assigned to any courses / curricula. If you wish to delete a category that is in use, you will need to edit each course / curriculum that uses the category first.
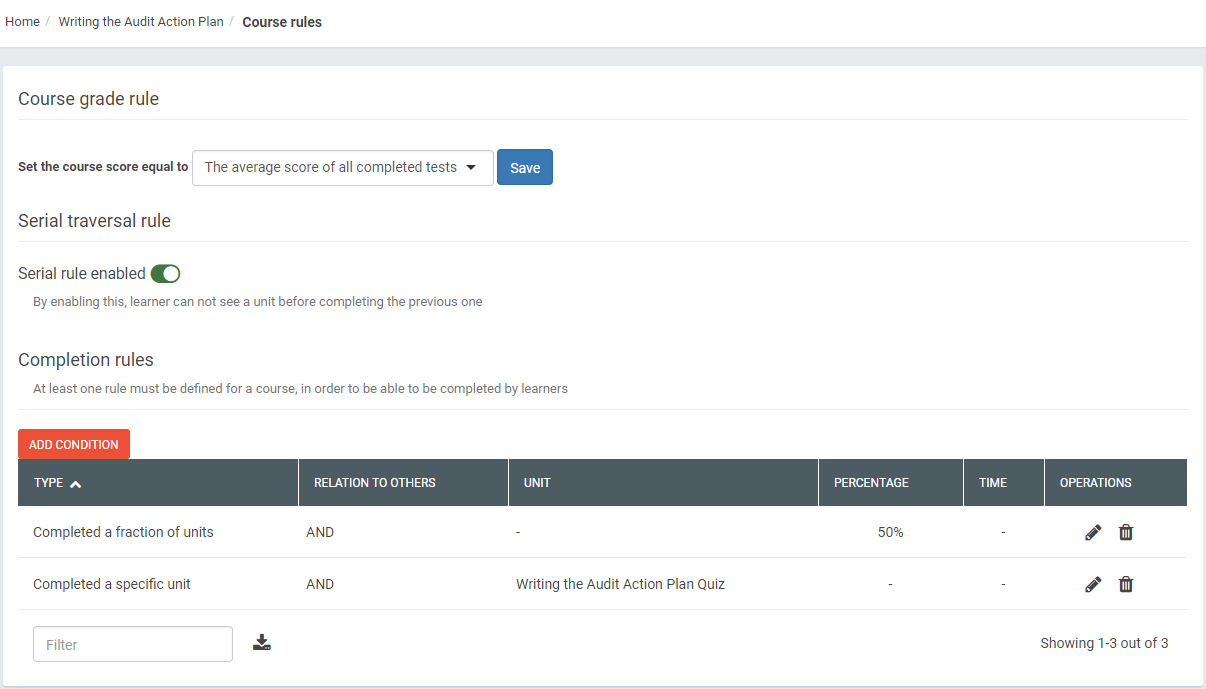
 icon from the Courses screen.
 - If you use the Document Retrieval Service in Q-Pulse through a secure connection (SSL), you can also display attachments from the Q-Pulse Documents module as courses. To do this, enter the URL of the document and its primary attachment will be displayed as a course. For more information, contact
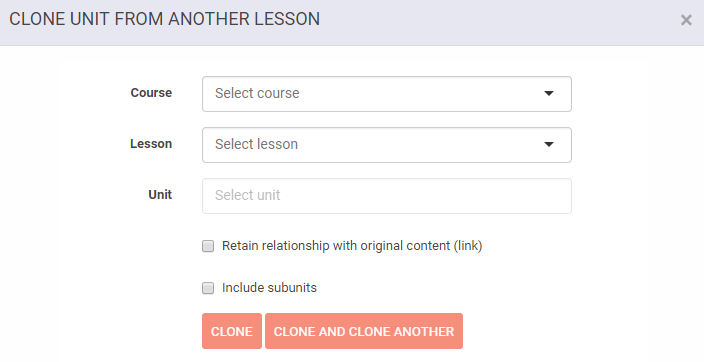
 - Remember that if you clone a unit and then make changes to it, the changes will also be applied to the original unit.